Depth is the whole problem
A pantry stops working at the point where you cannot see the back of a shelf, and that point arrives at around fourteen inches of fixed shelf depth. Beyond it, the front row is storage and everything behind it is archive. This is why deep pantries so reliably disappoint people who specifically asked for a deep pantry.
The mechanism is behavioural rather than physical. If retrieving something requires moving three things in front of it, it will not be retrieved, and it will not be remembered either. A deep fixed shelf accumulates duplicates at the front and expired goods at the back, and both of those are the shelf's fault rather than the owner's.
There are only two real fixes. Make the shelves shallower, so the whole shelf is visible at once and the pantry gains width or height instead of depth. Or bring the depth to you with pull-out gear, so the full carcass depth slides into the room and every item is reachable from three sides. Everything else, including door racks and tiered risers, is a partial mitigation of a problem that was created at the drawing stage.
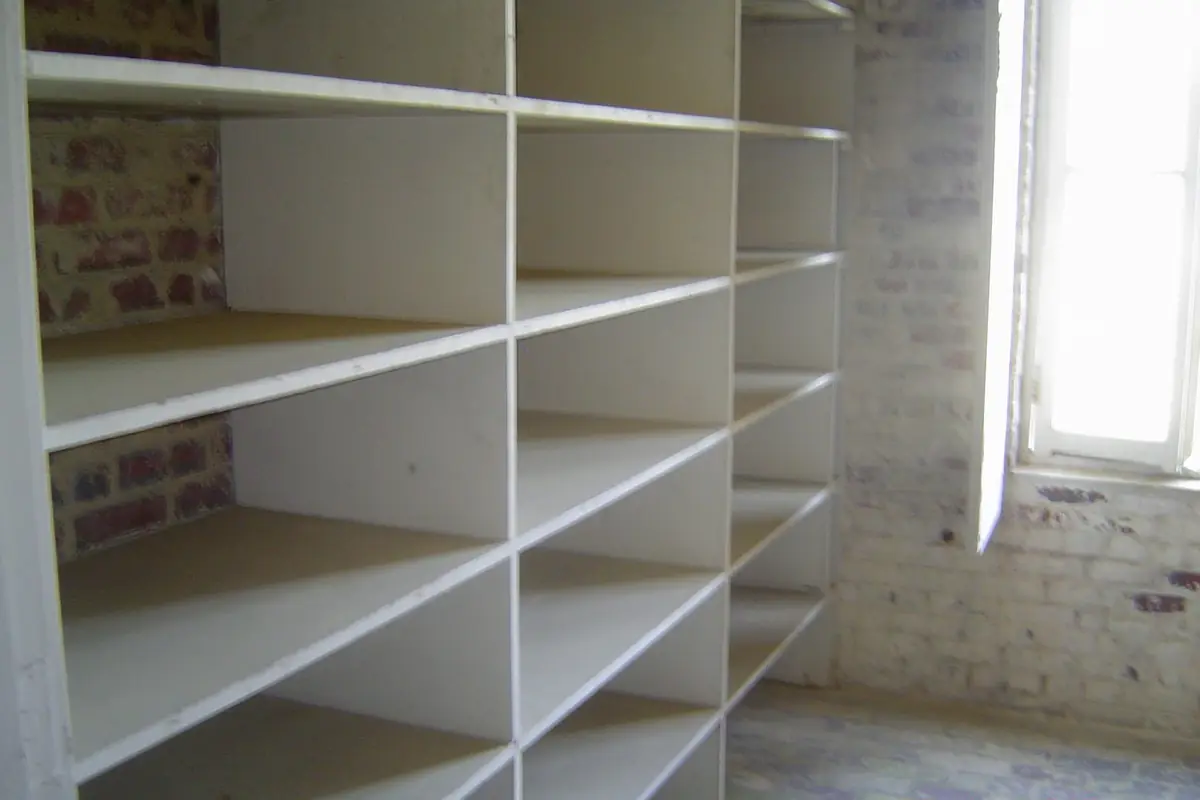
Shelf spacing against real contents
Evenly spaced shelves are the second most common pantry mistake. A shelf set at twelve inches throughout wastes four or five inches of air above every row of tins, while still failing to take a tall cereal box or a bottle of oil standing up. The result is a pantry that is simultaneously too tight and too loose.
The answer is a mixed layout taken from an audit, with fine pitch adjustment so the layout can change when your shopping does. Twenty minutes of counting what is actually in your cupboards produces a better pantry than any amount of looking at pictures of other people's.
| Contents | What it needs | Where to put it |
|---|---|---|
| Tins and jars | Close shelf spacing, short spans, and real load capacity | Waist to eye height, where you can read labels without bending |
| Cereal and packet goods | One tall bay, because these are the items that defeat a default spacing | Eye level, so the bay is used daily rather than becoming a dumping ground |
| Bottles, oils and vinegars | Height and a shelf that tolerates a spill | A dedicated bay, ideally with a lipped or wipeable shelf |
| Flour, rice and bulk bags | Weight capacity more than height, plus a container that stops a split bag ruining the shelf | Low, where weight belongs and where a spill is easiest to clear |
| Counter appliances | Depth and height, plus an outlet if the appliance is used in place | A dedicated deep bay, or a counter height section with a door that lifts |
| Rarely used items | Nothing except somewhere out of the way | The highest shelf, which is the one a standard pantry wastes |
Pull-out larders, and when they earn their cost
A pull-out larder earns its cost when the cabinet is deep and the alternative is a fixed shelf you cannot see the back of. It does not earn its cost in a shallow pantry, where it adds a mechanism to solve a problem you do not have.
What it buys is retrieval. The whole carcass depth comes out into the room, so items are visible and reachable from the side as well as the front, and nothing is permanently behind anything else. What it costs, beyond the hardware price, is a weight limit set by the runner gear, clear floor space in front of the unit that a hinged door alone would not need, and a mechanism that will eventually need adjusting.
The weight limit is the one to ask about specifically. A pantry loaded with tins is heavy, and the loaded weight is what the runner gear has to carry every day for years. Hardware sold for a pantry pull-out should have a stated weight rating, and the quote should name it. For the cabinet as a whole, the published performance benchmark is ANSI and KCMA A161.1, whose certification involves 14 tests including a 600 pound load test, with KCMA noting that between 40 and 50 percent of cabinets fail at the first attempt. See the KCMA certification programme→.
| Format | Depth that works | Strength | Weakness |
|---|---|---|---|
| Tall cabinet, fixed shelves | Up to about 14 inches | Cheapest, simplest, nothing to go wrong | Useless if built deeper than you can see into |
| Tall cabinet, pull-out larder | Any depth | Full depth genuinely usable, items visible from three sides | Hardware cost, weight limit, needs floor space in front |
| Shallow full height unit | 9 to 12 inches | Everything visible at once, very efficient per square foot | Needs wall width, which an older kitchen may not have |
| Walk-in pantry | Shelves at 12 to 14 inches around a standing space | Large capacity, everything visible, room for bulk and appliances | Spends floor area on standing room, and may need a permit to create |
| Door rack plus shallow shelves | Door rack 4 inches, shelves 10 to 12 | Uses the door, which is otherwise dead space | Door rack weight affects hinge choice and the door has to clear the shelves |
Turning a closet into a pantry in an older Riverside house
Kitchens built in Riverside's dominant era rarely have a pantry, and the hallway beside them often has a shallow closet doing very little. The median housing unit here was built in 1976, with 56.5 percent of the stock dating from 1979 or earlier on American Community Survey 2024 five year estimates, covering 2020 to 2024, so this conversion comes up constantly.
The things to check are the door swing, which decides whether you can see the whole interior at once; the depth, which decides whether you need pull-outs; the wall construction, because a hallway closet may back onto a bathroom with plumbing in the wall; and lighting, because a pantry you cannot see into may as well be deep. Adding a light is electrical work and needs a permit. Fitting out the closet does not, under the City's own exempt work list on the Building and Safety permits page→.
Where the closet is deeper than it is wide, which is common, the usual answer is shallow shelving on both side walls and the back wall, rather than deep shelving across the back. That converts an awkward cube into three visible walls of storage, and it costs less than pull-out gear.
Spans, loads and the one engineering question
Tinned goods are heavier per linear foot than books, which makes pantry shelving the most heavily loaded shelving in most houses. The engineering answers are the same as anywhere and they are all cheap at the drawing stage: break the span with a vertical divider, thicken the shelf, add a solid front edge, or support the back on a wall cleat. What is not cheap is discovering the problem after the pantry is loaded, because by then the shelf has taken a set and will not straighten.
Heat, light and where a pantry should not go
A pantry stores food, which makes it the one cabinet in the house where the temperature of the location is a specification rather than a detail. In an inland city that regularly runs hot for months, the difference between the coolest and the warmest cupboard in a kitchen is not trivial, and it is entirely predictable from the plan.
The three locations to avoid, in order, are against an uninsulated west facing exterior wall, immediately beside or above an oven, and directly above a refrigerator where the condenser exhausts. All three are common, because they are the leftover spaces a kitchen layout produces, and all three will shorten the life of oils, chocolate, bread and anything else that is temperature sensitive.
Where the only workable location is one of those, the mitigations are cheap. Insulating the back and side of the carcass against an exterior wall costs very little at build time. A heat barrier between an oven housing and an adjacent pantry bay is standard practice and should be on the drawing. And a gap above a refrigerator, rather than a sealed cupboard sitting on top of it, lets the appliance do its job as well as protecting whatever is stored there.
Light is the other thing people regret omitting. A pantry you cannot see into behaves like a pantry that is too deep, whatever its actual dimensions. A single light inside a tall unit, switched by the door, changes how a pantry gets used more than another foot of width would. That is electrical work and so it carries a permit, which is why it should be decided alongside any other electrical work in the kitchen rather than as an afterthought once the cabinetry is in.
How the project runs
- 1Audit what you actually store
Tall bottles, cereal boxes, tins, bags of flour, small jars and the appliances that live on a counter because there is nowhere else. Each of those has a different height and a different retrieval pattern, and the shelf spacing comes from the list rather than from a default.
- 2Measure the space honestly, including the door
Width, depth, height, and critically how far the door swings into the room and what it hits. A pantry you cannot open fully is a pantry with a permanently inaccessible corner.
- 3Decide depth before anything else
Depth is the single decision that makes or breaks a pantry. Beyond about fourteen inches on a fixed shelf, the back row stops being retrieved and starts being archaeology. The answer is either shallower shelves or a pull-out mechanism that brings the depth to you.
- 4Lay out by frequency, not by size
Daily items at eye to waist height, weekly items above and below that band, and the heavy or rarely used at the extremes. This is the layout principle that keeps a pantry working a year after it is installed.
- 5Build to the measured opening
Carcass, shelving and any pull-out gear built to the drawing, with shelf adjustment on a fine pitch because a pantry's contents change more than any other cabinet in the house.
- 6Fit, level and load test
Fixed into framing, levelled, pull-outs adjusted and run under full load, because a larder unit loaded with tins behaves very differently from an empty one. Closed out on a written punch list.
What to check before you sign
- The depth decision made explicitly, with pull-out gear specified if the carcass is deeper than you can see into
- Shelf spacing taken from an audit of what you store, not set evenly by default
- Fine pitch shelf adjustment, because pantry contents change more than any other cabinet
- Spans resolved with dividers or cleats, given that tinned goods are a heavy uniform load
- A weight rating stated for any pull-out hardware
- Lighting discussed, and priced as electrical work if it is being added
- A tall bay included, because the item that defeats most pantries is a cereal box
The code clause that names the pantry
A pantry is not an electrically neutral room. The requirement for two twenty amp small appliance branch circuits names it directly alongside the kitchen, and the City of Redlands reproduces the clause reference in its residential kitchen renovations handout→: two circuits of twenty amps each are required for the kitchen, pantry, breakfast room or dining room, those circuits have to be balanced, and they may have no other outlets on them.
That matters the moment a pantry stops being shelves and starts holding equipment. A microwave on a pantry shelf, a second refrigerator, a stand mixer left plugged in, a chest freezer: all of those draw from a circuit that the code intends to be shared with the kitchen worktop, not separate from it. A pantry fit out drawn without asking what will be plugged in inside it is the reason a kitchen breaker trips when the kettle and the microwave run together.
The same handout is the clearest published statement in this service area of what else has to be true in and around a kitchen, and it says why a modest looking job can pull work with it: “Removal and replacement of the base cabinets and counter top will require compliance with the electrical outlet location requirements of the code.” If a pantry project moves a base run or a countertop as part of the same job, that sentence applies.
| Requirement | Clause cited | What it changes in the plan |
|---|---|---|
| A countertop 12 inches or wider requires a receptacle outlet | CEC 210.52(C)(1) | Any base run wider than a foot pulls a receptacle into the backsplash above it, so a continuous unbroken splash is only possible where the cabinet below is narrower than that. |
| A receptacle is required within 24 inches of any point along the countertop | CEC 210.52(C)(1) | This is the rule that sets how many outlets land in a long run, and it is measured along the counter rather than per cabinet, so a four foot and a six foot cabinet can need the same number. |
| Two 20 amp small appliance branch circuits for kitchen, pantry, breakfast room and dining room, balanced, with no other outlets on them | CEC 210.52(B)(1) and (2) | The pantry is named in the same clause as the kitchen, which is why a walk in pantry fitted out with an appliance shelf is an electrical conversation and not only a shelving one. |
| Countertop outlets are GFCI protected and receptacles are listed as tamper resistant | CEC 210.8(A)(6) and CEC 406.12(A) | Neither changes a cabinet dimension, but both are visible on the finished splash, and both are things an inspector will check on a job that did need a permit. |
Clause numbers as cited in the City of Redlands residential kitchen renovations handout, which cites the 2019 code editions. These are state code clauses rather than Redlands ordinances. Confirm the current cycle with your own city's building department.
Why a shallow pantry holds more than a deep one
The most common pantry mistake is depth, and it is made because depth looks like capacity. It is not. A twenty inch deep shelf at shoulder height holds two rows of tins and shows you one, and the back row is forgotten until something expires in it. The published reach figures explain why.
The ADA Standards give a maximum side reach depth of 10 inches within the 15 to 48 inches band, under section 308.3, and forward reach of 15 to 48 inches with the upper figure reduced to 44 inches where the depth of reach over an obstruction exceeds 20 inches under section 308.2. They govern public accommodation rather than private pantries, so nothing in them is required here, and as a design reference they are exact where intuition is not.
Applied to a pantry that gives a clear specification. Keep shelving at twelve inches deep or less for anything in regular use, and put the one deeper run at low level where bulk items live and where sliding out beats reaching in. Keep the band between roughly fifteen and forty eight inches for daily goods. Treat anything above forty eight inches as seasonal and fit it with lidded boxes or a pull down rather than open shelves. And give the floor a pull out rather than a pile, because the floor of a walk in pantry is the single most wasted square footage in most houses.
The honest comparison most pantry quotes avoid: a pair of tall full extension pull out units in a kitchen run frequently delivers more usable storage than a small walk in pantry, because every inch of their depth comes out to the user. Where a walk in genuinely wins is bulk, appliances and anything bought in quantity. The best answer in a larger house is usually both, with the walk in deliberately reserved for the bulk and the daily goods kept in the run.
Related: kitchen cabinets, closet systems for the same logic applied to clothes, and pull-out upgrades for cabinets you already own.